We are settled into the new house and I've ended up spending more time than I expected these last few weeks learning how to play pool again. I have a lot less free time these days than I did a dozen years ago, so now I feel like I need to be more effective in my pool practice. In college I could practice for hours on end, but it is time to get more focused. I wanted to start with a low-deflection cue, but without the high cost - especially given that I'd like a low-deflection shaft for breaking, shooting, and one for keeping at work (we have a 9' Olhausen in the office).
Years ago I shot with a Predator 314 shaft, so I was curious if I could get similar low-deflection characteristics by lowering end-mass, just drilling out the first 6" of my shaft. There is a lot of shaft marketing, but after a bit of reading it seemed like far and away the most significant factor is end-mass. I did not find anything online about how to do this, so just thought I'd give it a shot.
We have a set of abused two-piece generic Chinese cues in the office, so that is where I started my experiment. I don't have a cue lathe, and getting one would be more expensive than just buying myself some shafts. I don't have a stand-up drill press, and I think even with a drill press making sure to drill exactly straight is difficult. Here is the ghetto rig I came up with to solve my problem.


I bought a set of extra long brad point drill bits on Amazon and a bit of 1/2" copper pipe. The copper pipe is just a bit larger than 13mm, giving me room to put some tape around the shaft. I attached this to a mitre box, attached the box to the edge of my work bench along with my drill. My work bench has a nice bit of angle-iron as coping, which is about as straight as I could hope. I spent a bit of time shimming up underneath the back of the drill and beneath the mitre box, but ended up with something pretty darn close to straight.
I used the mitre box saw to chop off the top of the ferrule, reducing its size and tried drilling out a shaft. Unsurprisingly the first shaft was not perfect.

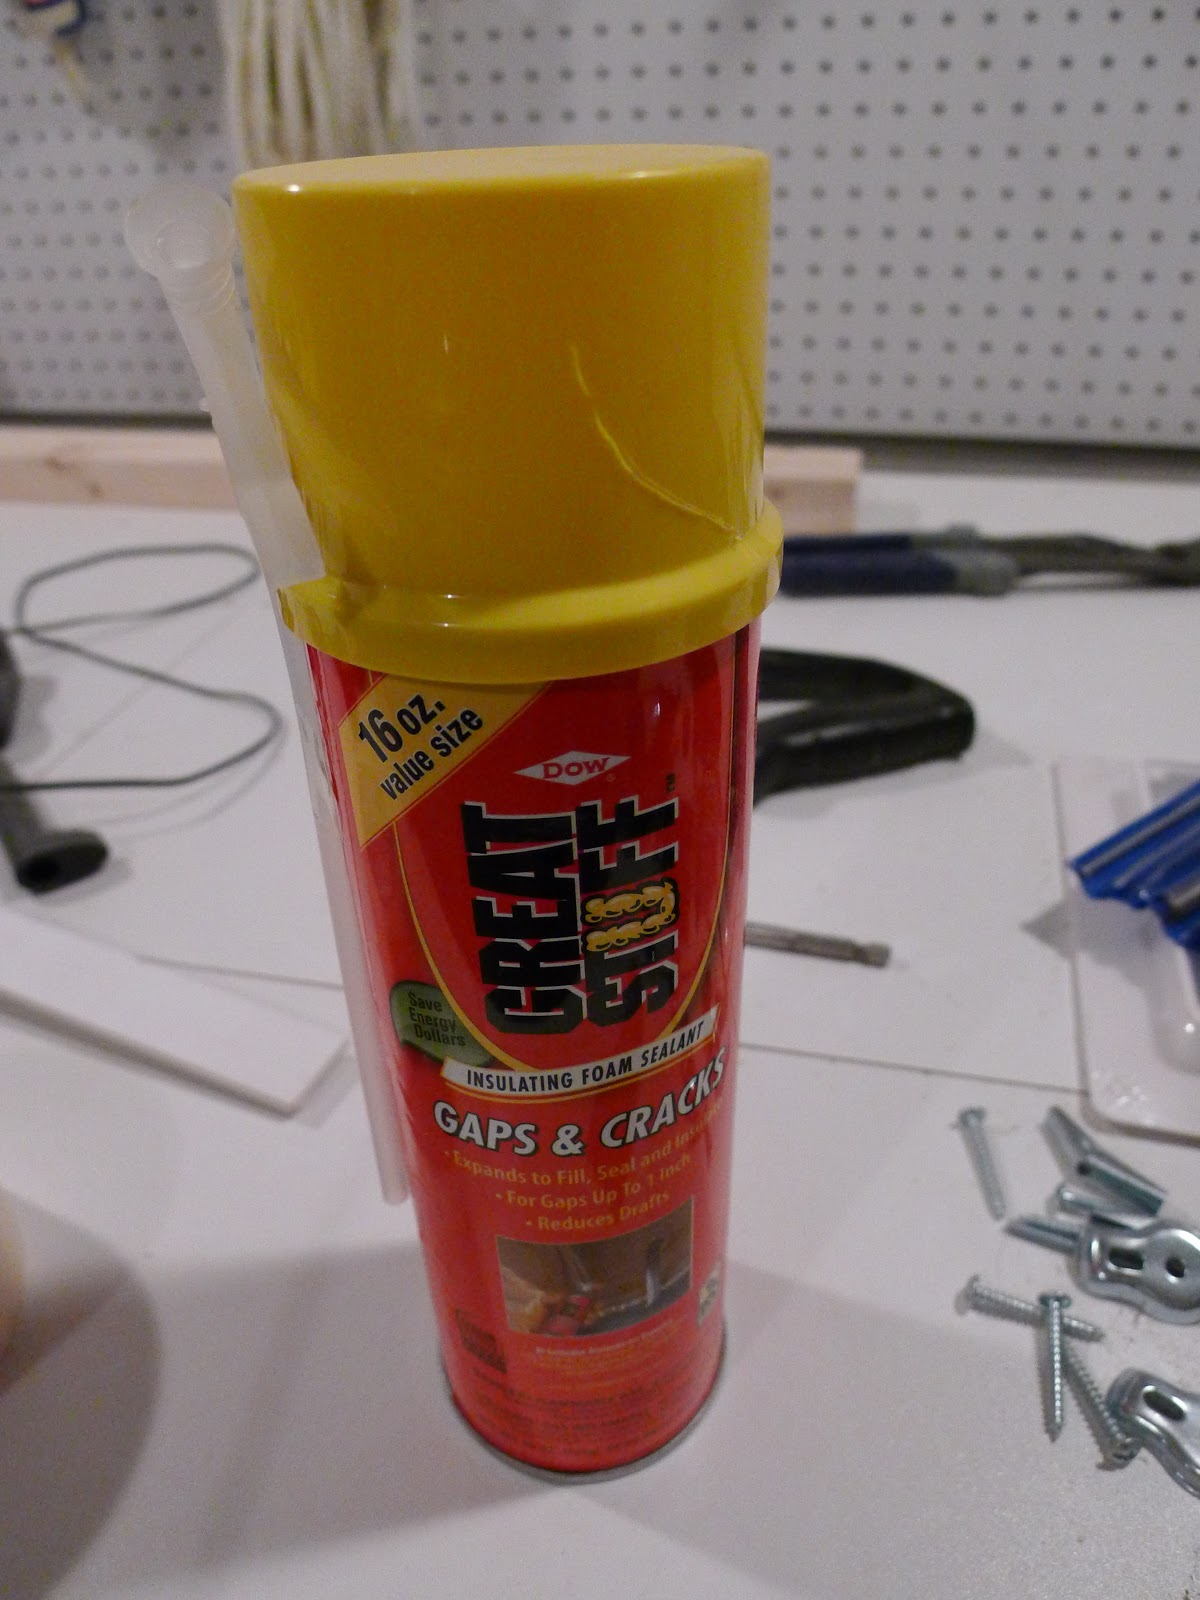
You can see that the hole I drilled was less than the shaft doweling that went into the ferrule - more on that in a minute. After slowly drilling out about 5 1/2" from this shaft I used spray foam insulation to fill the void, hoping to prevent the cue from feeling too hollow.

From there I shaved off the end with a razor, sanded it down with a Tweeten cue sander and glued on a LePro tip.

I bought a long 5/16 18 bolt from Home Depot to mount in my drill so I could spin the shaft to finish the tip and sand down the diameter of the cue to ~12mm and give this garbage cue a pro taper. Nothing particularly difficult about that part, just a bit of time.
The hole gives me significantly less surface area to glue to. I also was worried that this might feel very hollow or might hit a bit oddly for straight shots given that there was effectively no support where the hole is. None of that ended up being true. The cue shot surprisingly well - reducing the deflection around a full ball's width from the headstring to the foot of the table.
With this slight success I decided to move along to my break cue and sneaky pete. This time my drilling was perfectly straight and I drilled out around 6 1/4" from the end. I spent a bit more time getting the taper just right and used a Mori medium tip on the sneaky pete.
Ok, now here is a problem with this method. The final cue I drilled out was an old antique cue. The dowling inside the ferrule was about the same size as the hole I was drilling - but foolishly I went ahead and drilled it out anyway. When I was sanding down the sides of the tip I had pressure perpendicular to the shaft and SNAP - off came the ferrule.

I tried to recover from this disaster by gluing in a piece of plastic on both the ferrule and shaft side, but in trying to get everything lined up perfectly the shaft ended up cracking. Whoops.
In the end I would say that for inexpensive cues this is a great way to turn them into something useful. Of course if you can afford the real deal I'm sure your money is well spent, but if you're looking for a cheap way to get results maybe you could give this a try and hopefully improve on my first attempts. I bought three more sneaky petes from Muellers and expect to be able to turn them into very nice playing cues with low deflection as well.
Fascinating! You have a lot more bravado that me, that's for sure. Interesting contraption in lieu of a lathe. Still, you managed to get a pretty straight hole dug out after the initial attempt.
ReplyDeleteI'm not sure what happened to your ferrule, exactly, since I have never taken one apart myself. You can buy a variety of ferrule materials on the internet. As I recall, I have had custom shafts made with melamine and aegis, maybe linen, ferrules. I would have to look back at the old emails to verify, if you're interested.
Ken
I know what happened to the ferrule - I effectively drilled out what was securing it in place. In the first three I did the smaller diameter bit of the maple shaft which slips into the ferrule was a larger diameter than the hole I was drilling, leaving plenty of epoxied surface area to keep the ferrule in place. On the last one they were about the same diameter. Drilling out meant that the only thing holding the ferrule on was the epoxy between the bottom of the ferrule and the shaft - not a good plan.
ReplyDeleteShould have used a smaller diameter drilll bit ….’the ferrule had too little wood to hold on to … I tried this experiment before but only using a smaller drill bit ….
ReplyDeleteThe hole was too wide , should have used a smaller diameter drill bit
ReplyDelete